How to Do CPR on Your Dog
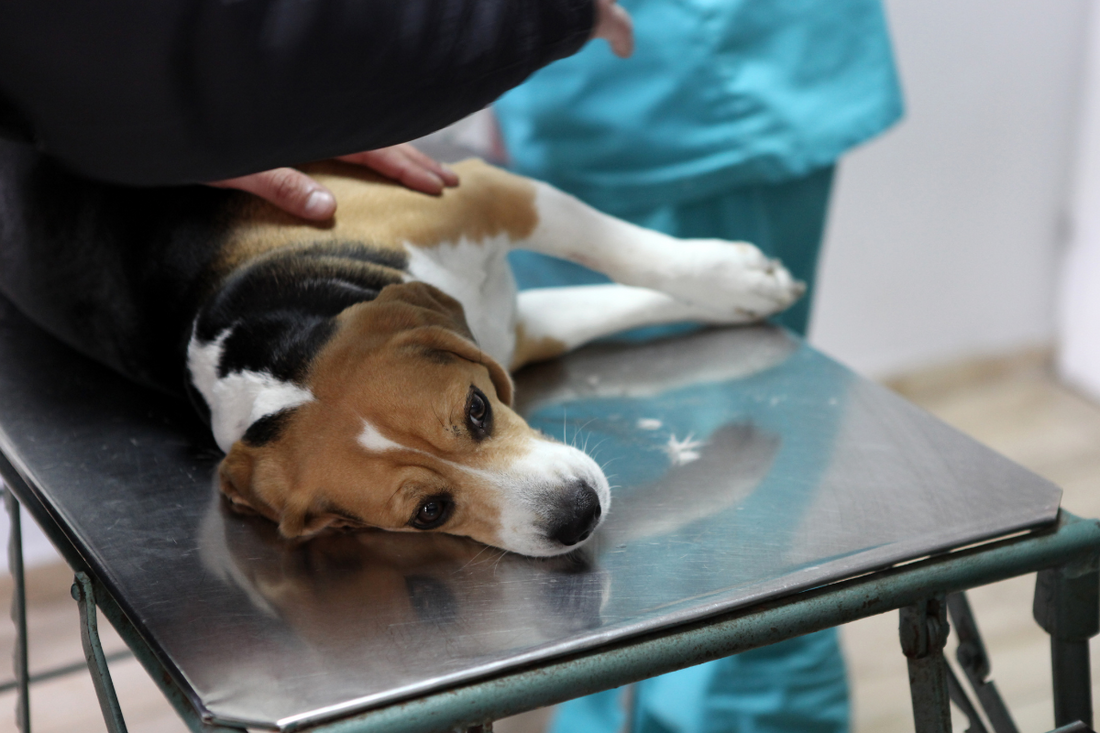
Nobody ever thinks it’ll happen to their dog. One moment everything’s fine—and then they collapse, stop breathing, or go completely still. In those moments, every second feels like an eternity. What you do next matters.
Knowing how to perform CPR on your dog might sound intense, but it’s one of the most powerful tools a dog parent can have. It’s not about being dramatic—it’s about being ready when your dog needs you most.
Here’s what you need to know—clear, practical steps for dog parents who want to be prepared for anything.
When Would a Dog Even Need CPR?

You might not expect it, but yes—dogs can stop breathing. Their heart can stop beating. And when that happens, every second counts.
CPR (cardiopulmonary resuscitation) is used when your dog is unresponsive and both breathing and heart activity have stopped. This could be caused by:
-
Choking on food, bones, or toys
-
Getting hit by a car
-
Sudden cardiac arrest
-
Drowning or near-drowning
-
Poisoning or severe allergic reaction
It’s rare, but real. Being prepared gives you a chance to help your dog when it matters most.
How Do You Know It’s Time to Do CPR?
If your dog:
-
Is unconscious and not waking up
-
Shows no signs of breathing (no chest movement)
-
Has no detectable heartbeat (check their chest or inner thigh)
That’s when CPR becomes necessary. If you’re unsure, start CPR while someone else calls your vet or an emergency clinic. Don’t wait to be 100% sure if the signs are all there—acting fast could save your dog’s life.
How to Perform CPR on a Dog

You don’t need medical training. You just need to stay focused and follow these steps.
Step 1: Get Your Dog into Position
Lay your dog on their right side so their heart is facing up. Gently extend their head and neck to help open the airway.
Step 2: Check for and Remove Any Blockages
Open your dog’s mouth and check for any visible objects that might be obstructing the airway—like a piece of toy or food. If you see something you can safely remove, do it. If not, move on to compressions.
Step 3: Begin Chest Compressions
How you compress depends on your dog’s size:
Small dogs (<30 lbs):
-
Use one hand to compress the chest directly over the heart.
-
Push down about 1/3 to 1/2 the chest’s width.
Medium to large dogs (>30 lbs):
-
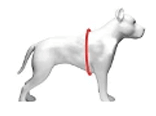
Use two hands, one over the other, placed over the widest part of the chest.
-
Keep your arms straight and press down about 1/3 to 1/2 the chest width.
Go at a pace of 100–120 compressions per minute.
Tip: That’s roughly the beat of “Stayin’ Alive”—yes, the Bee Gees.)
Step 4: Give Rescue Breaths
After every 30 compressions, give 2 breaths:
-
Close your dog’s mouth.
-
Seal your lips over their nose and blow gently until the chest rises.
-
Each breath should take about a second.
Then go right back to compressions. Keep the cycle going.
Step 5: Continue Until Help Arrives—or Your Dog Recovers
Repeat 30 compressions + 2 breaths until:
-
Your dog starts breathing on their own
-
You find a heartbeat
-
A vet or emergency responder takes over
If they start breathing again, stop CPR and head straight to your vet. They’ll need to be checked even if they look okay.
After the Emergency: What Comes Next
If CPR worked, incredible. If it didn’t, you still gave your dog the best possible chance. Either way, get to a veterinary clinic immediately. Internal injuries, shock, or lingering effects can still pose a risk.
This is one of those moments you prepare for but hope never comes. If it does, you’ll know you did everything you could.
Being Prepared Is Part of the Job

Being a good dog parent doesn’t just mean belly rubs and walks in the sunshine. It also means being ready when things don’t go as planned. Here’s how to keep your emergency toolkit sharp:
-
Learn pet CPR through a virtual or in-person course
-
Keep emergency vet numbers somewhere visible (and in your phone)
-
Stock a basic pet first aid kit with gloves, gauze, and a CPR card
-
Talk through the steps with anyone else who watches your dog
Preparedness isn’t paranoia—it’s peace of mind.
At Joyride Harness, we’re not just about harnesses and walks (though we make those amazing). We’re here for every part of the dog parent journey—from training and playtime to emergencies and real talk about keeping your pup safe.
That’s why we share guides like this. Because every dog deserves a parent who’s ready—and every dog parent deserves tools they can trust.
---
The information provided in this blog post is for general educational purposes only and is not intended as a substitute for professional veterinary advice, diagnosis, or treatment. Always consult your veterinarian or a qualified animal healthcare provider with any questions you may have regarding your pet’s health or medical conditions.
What you’ve just read is a sampling of blog posts we offer at Joyride Harness. We cover current events, informational posts, interviews, and more! You can find more content, including tips and tricks and how-tos for caring for your dog on our blog at this section.


